APPLICATION DEPLOYMENT Using SCCM 2012
Applications in SCCM 2012 can be deployed in such a manner that users can navigate to the
application catalog and install the applications.
This is a great new feature introduced in SCCM 2012.
This is a great new feature introduced in SCCM 2012.
All
applications are recommended to be stored in shared network with proper directory
structure. Each applications should reside with their respective folder
according to the vendor name. The naming convention of the application is always appreciated in “VendorName ProductName Version”.
In SCCM
Console the applications are recommended to be mounted inside the Application tab with respect to
their vendor name.
We will be installing applications which are displayed in application catalog so that users can install
application without administrative approval.
The
maximum time to install the application is set to 120 minutes as default.
Mandatory applications can also deployed through application
catalog, which can be integrated in Operating System Image on the
process of Operating system deployment.
Below is the detailed process followed to deploy
applications from SCCM 2012
1. Store the application in a network share folder from which SCCM server has proper access.For better understanding keep the application folder with proper directory structure.
2. Create folder according to vendor name, and then create application
inside the folder

3. Right
click the folder and select Create
Application and provide the package storage path


4.Type the
name of the application and select Install
behavior to Install for system and click next in the summery
window
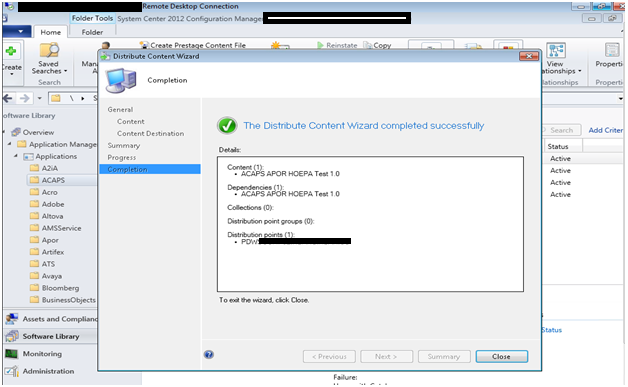
5. When
application wizard completes successfully click close to exit
6. Right
click the application that you have created and click Properties. Select Distribute Content
7. Right
Click the Application and Distribute the
content to the distribution Point. Do not proceed until
you see the content status of the application as
Green.
8. Click
Next to complete the distribution.


11. Check the Distribution point present.


9. In the
monitoring tab navigate to Content
status. The green color indicates that the content
has been
distributed to distribution point successfully. You can also refer to distmgr.log for distribution status of the content.
10. Navigate
the application under Application
tab, Right click the application and click on Deploy.
Select
the desired collection. This collection should be a user collection.
12. Choose to Install the application and Purpose is set as Available.
13. Select User notifications as Display in Software Center and show all
notifications. Click
on Next
and
Close
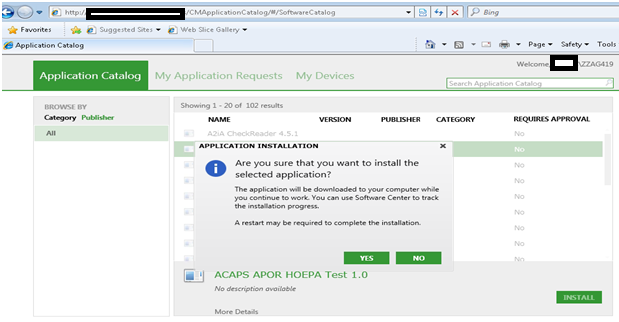
14. On the
client computer,
launch the Application catalog, Click Install to start the installation. The application is first downloaded and then
installed. Wait for few minutes to complete the installation.
15. Click yes to continue
16. After
some time you can see the application is installed successfully.
17. Navigate to Software Center and you can see the application is installed
successfully
The log file which we can refer is CAS.log and AppEnforce.log from the client side which resides unde C:\Windows\CCM\Logs folder,
No comments:
Post a Comment